
Search
Recent
- Richie & Shelli on YouTube
- Eric Atwood Actor Reel
- Cloud Storage Solutions
- File and Folder Structure for Zoom F6 MultiTrack Field Recorder
- Carla Delaney Actor Reel
- DCP Package Creation
- Miriam Graves Reviewed on The Movie Blog
Categories
DIY Boom Pole Second Generation
DIY | February 23, 2016
For our second boom pole, we made modifications to the design for a better quality build.
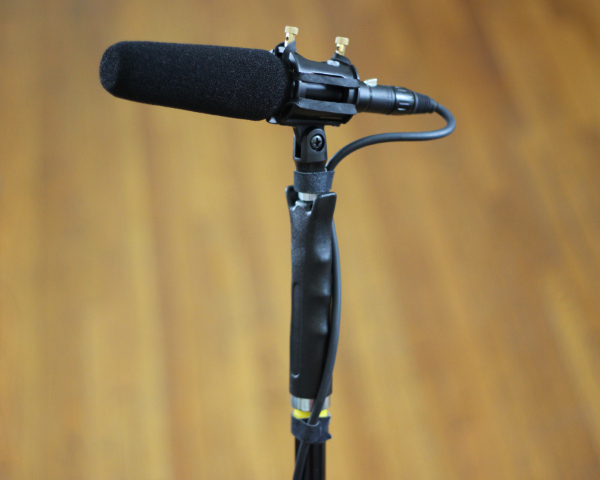
Since we need to adjust the angle of the microphone, we built an extension handle that connects to a shock mount with a 3/8″ connection. The handle also lengthens the boom pole; when fully extended it measures 6′ 6″.
Since our boom pole is used on professional sets, it must be solid and dependable. Our boom pole has seen action on dozens of sets, sometimes in harsh conditions.
Parts List ($24.91 Total)
- Mr. Long Arm Telescoping Extension Pole ($9.87 @ Home Depot)
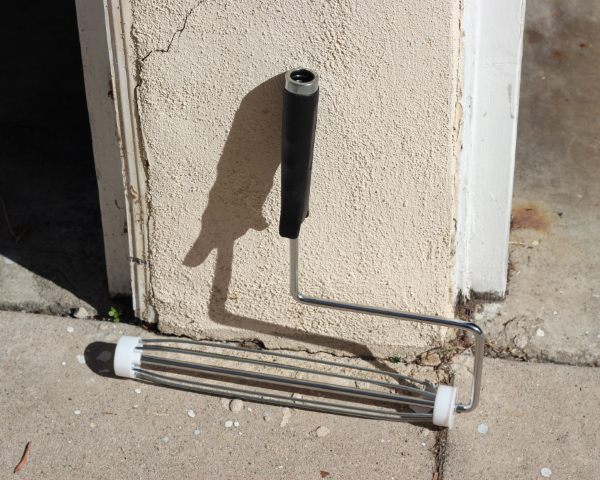
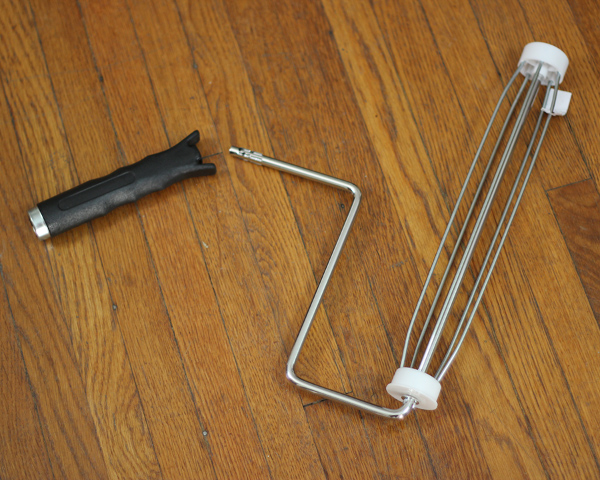
- 12″ Heavy Duty Roller Frame ($4.98 @ Home Depot)
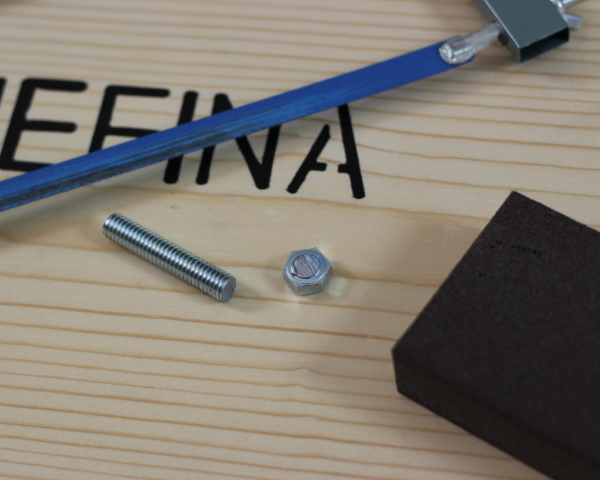
- 3/8″ x 2″ Hex Bolt ($.34 @ Home Depot)
- 3/8″ Hex Nut (x2) ($.24 @ Home Depot)
- Bongo Ties; Black ($5.49 @ Filmtools)
- Bicycle Handlebar Soft Grips; Pair, Black ($1.16 @ eBay)
- Microphone Shock Mount with Pop Filter ($2.95 @ eBay)
- Velcro Ties ($.99 @ 99 Cents Only Stores)
Tools / Supplies
- Drill
- 5/16″ Drill Bit
- Wrench
- Hacksaw
- Sanding Block
- Dishwashing Liquid
Steps
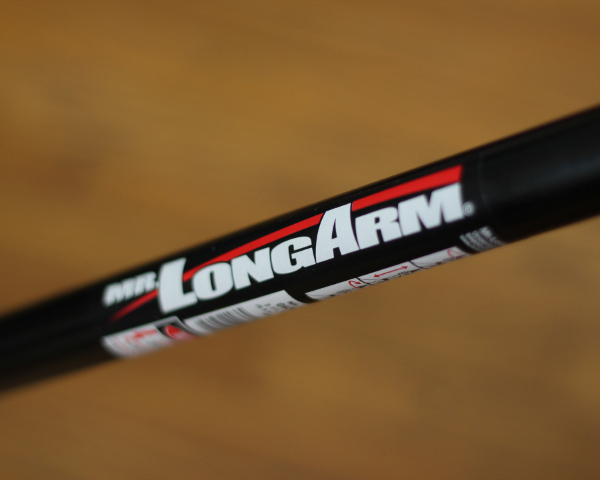
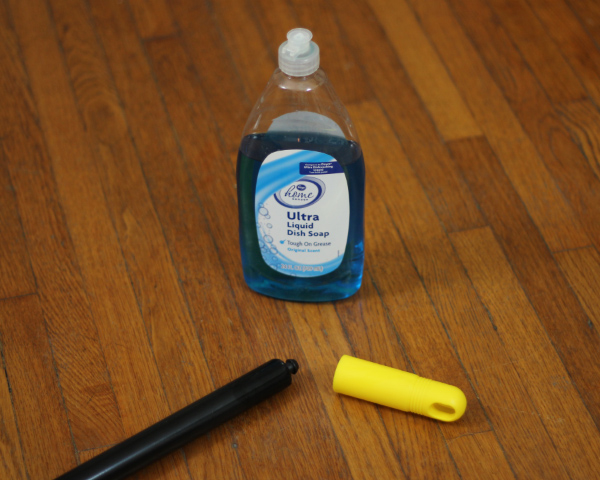
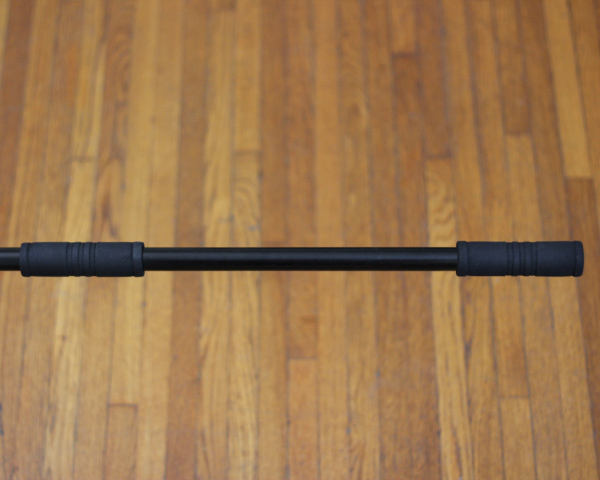
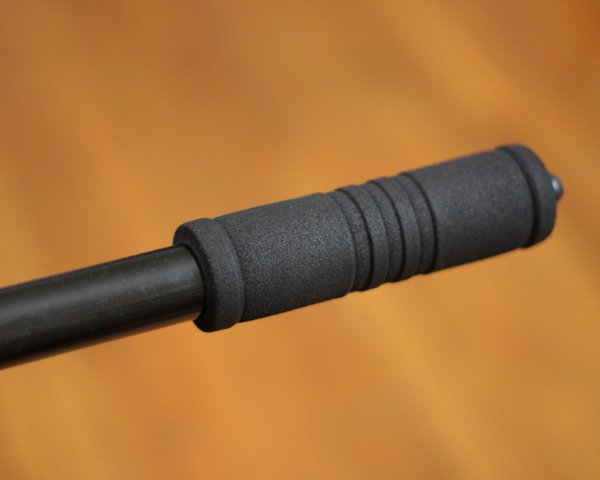
Remove the Mr. LongArm sticker. Use dishwashing liquid and water to slip off the yellow end cap and slip on the soft grips.
Removing the handle from the metal frame requires some effort. You can make the plastic more malleable by leaving it outside in the sun for an hour. You can also put it in an oven at 150 degrees for 3 minutes; it will be very hot when you take it out.
The handle will not twist off, rock the handle side-to-side until there is some play and then pull it straight off. Discard the roller frame.
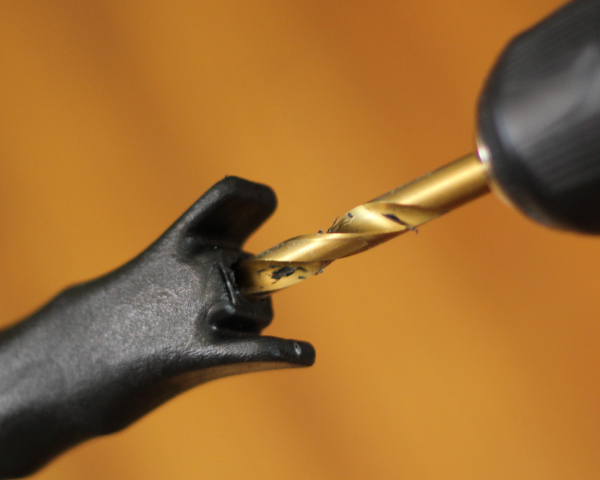
With the 5/16″ drill bit, drill the hole to make it slightly wider. Screw in the 3/8″ bolt to thread the handle, then unscrew the bolt.
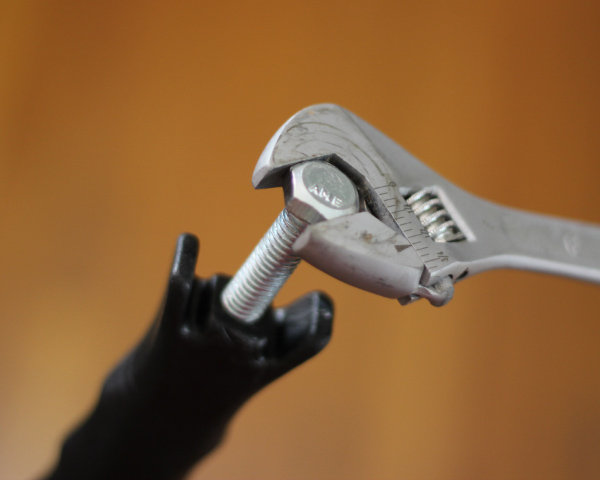
Using a hacksaw, cut away the bolt head. Use a sanding block to smooth out the cut edge. Discard the bolt head.
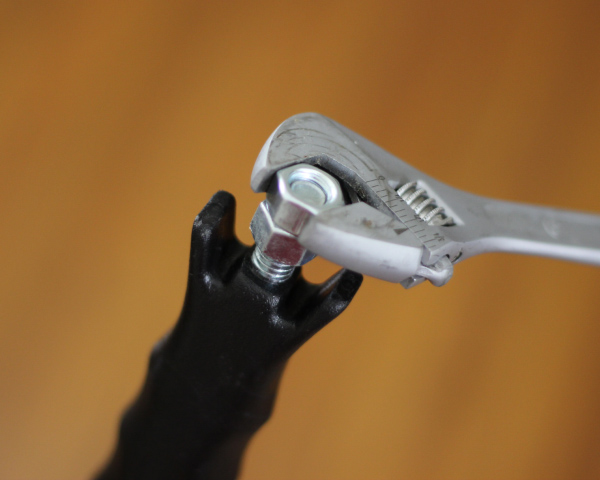
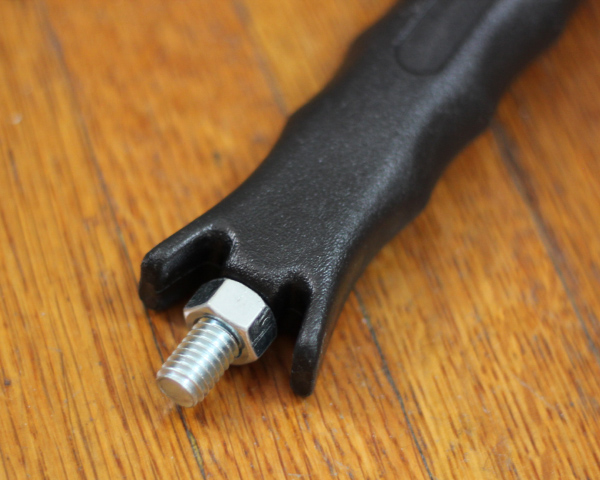
Tighten two nuts together creating a temporary head for the screw. Using a wrench, screw the bolt back into the handle. Screw the cut end of the bolt into the handle first, allowing the smoother end to stick out. It will be easier to screw in the shock mount later on.
The exposed screw should stick out about 7/8″. Remove one of the nuts and then tighten the remaining nut against the handle.
Assemble the main parts together, finishing the boom pole. Use velcro ties to secure the XLR cable to the handle and pole.
The shock mount originally came with a pop filter that attaches with a metal rod. Pop filters are not suited for location sound so we removed it.
We used Bongo Ties in place of the thin bands the shock mount originally came with.
The microphone pictured is an Audio-Technica 875R.