

Recent Posts
Categories
DIY Apple Boxes
DIY | May 24, 2015
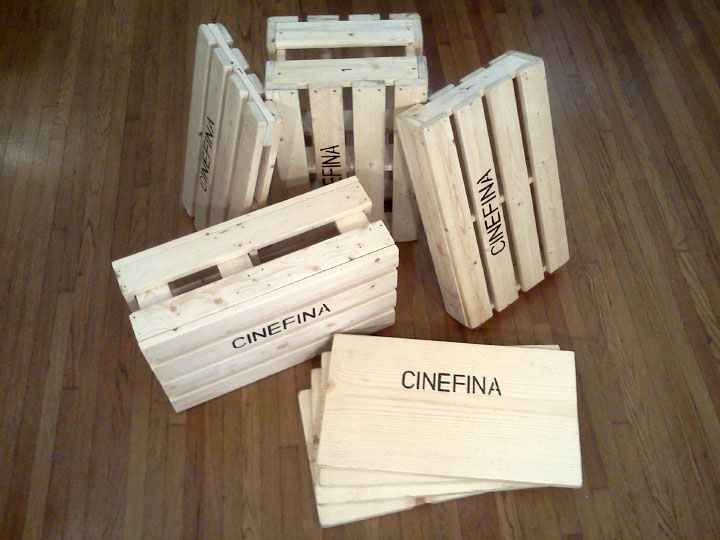
A full set of apple boxes—full, half, quarter and eighth—costs about $145 at most film-supply stores. You can make your own set of DIY apple boxes for about $40 by following these instructions.
These apple boxes are strong and sturdy and can withstand many years of use on set. As pictured, the set includes two full apples, one half apple, one quarter apple and four eighth apples, also known as pancakes.
Tools
- Hammer
- Saw and miter box
- Sandpaper
- Tape measure
- Pencil
- Plastic stencil
- Permanent marker
Hardware
- Grip-Rite Fas’ners bright-finish 3d nails, 1-1/4 inches / 3.18 cm (about $3)
Wood Stock
Pine Strips
Pine strips measuring 5/8 x 2-7/16 x 96 inches cost about $2 each. Home Depot lists the dimensions in decimals as 0.656 x 2.375 inches.
- Four strips for one full apple box
- Three strips for one half apple box
- Three strips for one quarter apple box
Common Board
One common board measuring 3/4 x 11-1/4 inches x 4 feet costs about $9. Home Depot lists the board as 1 x 12 x 4 feet.
- One board makes two pancakes
Cut List
| Apple Box | Finished Size | Pieces |
|---|---|---|
| Full Apple Box | 20 x 12 x 8 inches | 20 inches (12 pieces) 10-5/8 inches (6 pieces) 6-5/8 inches (6 pieces) |
| Half Apple Box | 20 x 12 x 3-7/8 inches | 20 inches (10 pieces) 10-5/8 inches (3 pieces) |
| Quarter Apple Box | 20 x 12 x 2-1/16 inches | 20 inches (8 pieces) 12 inches (3 pieces) |
| Pancake | 20 x 11-1/4 x 3/4 inches | 20 inches (2 pieces) |
The half apple box is slightly smaller than the standard 20 x 12 x 4-inch size. The quarter apple box is slightly larger than the standard 20 x 12 x 2-inch size. The pancake is slightly smaller than the standard 20 x 12 x 1-inch size.
Steps
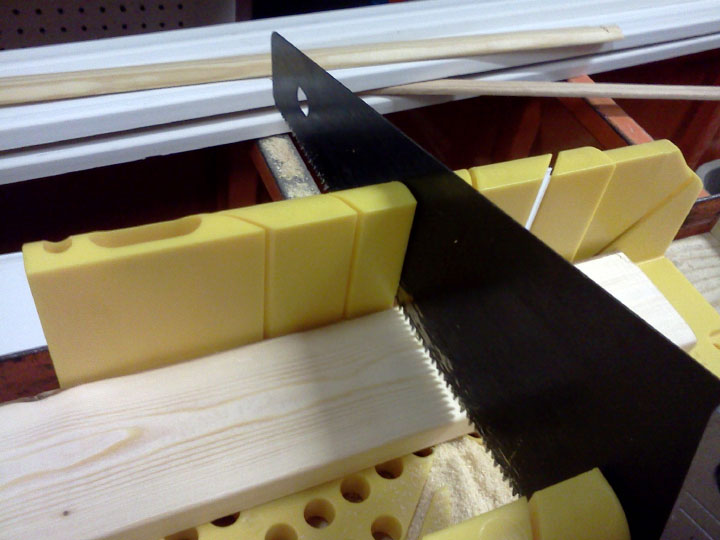
Purchase and cut the wood. If you do not have a saw and miter box, use the cutting station available at many home-improvement stores.
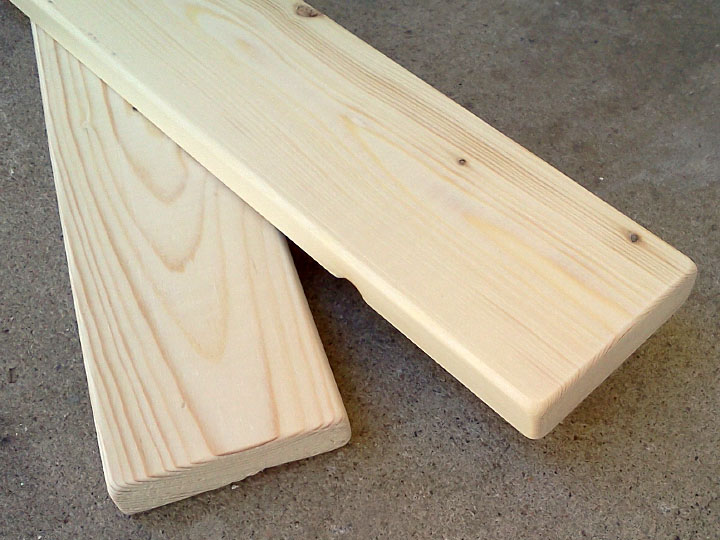
Sand each piece before assembly to remove splinters. You can also apply a coat of wood sealant to extend the life of the apple boxes. To make pancakes, sand the cut boards and apply your stencil as described below.
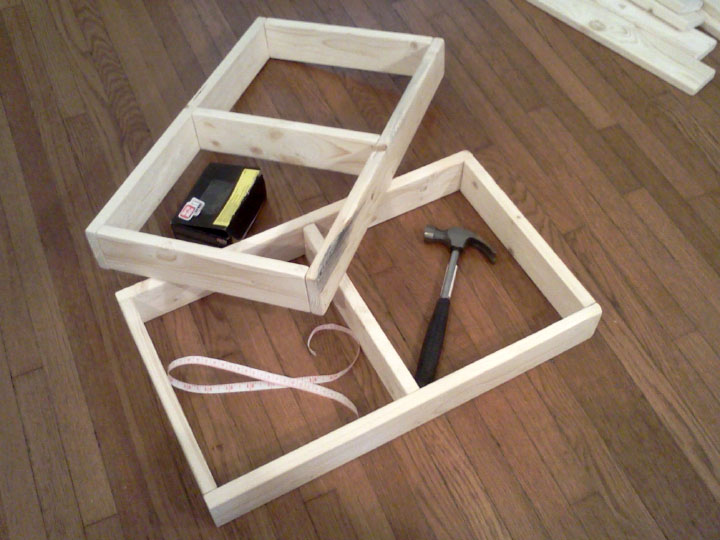
Build two frames for a full apple box or one frame for a half apple box. Before nailing the planks into place, check that each frame is square. Otherwise, the two completed halves may not join properly and the finished apple box may be unbalanced.
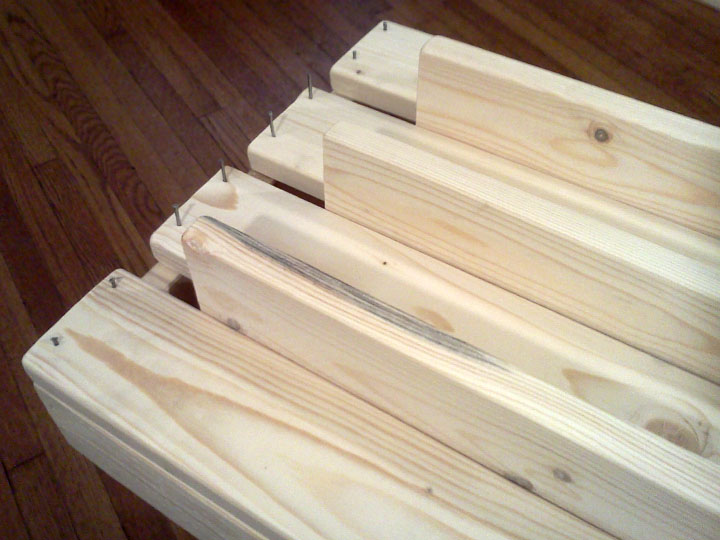
Use the remaining pieces as spacing guides while nailing the planks to the frame.
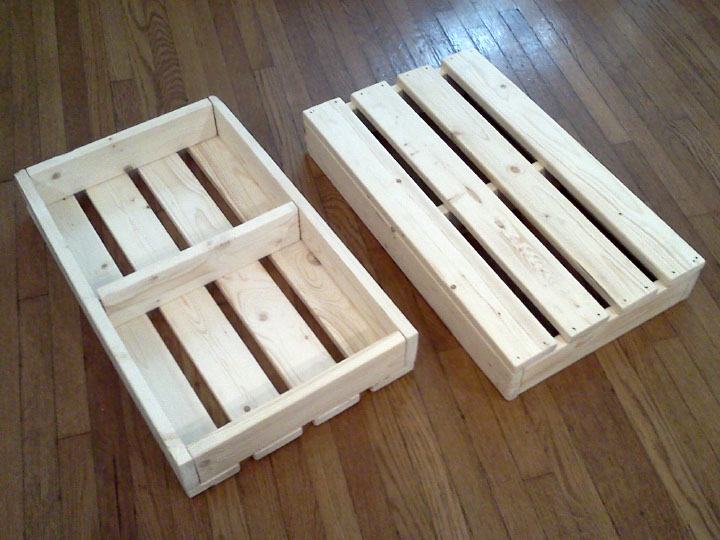
These are the two completed halves of a full apple box. To make a half apple box, nail four planks onto the opposite side of one assembly. To make a quarter apple box, place three 12-inch flat spacers between eight planks, with four planks on each side. The quarter apple box is not pictured.
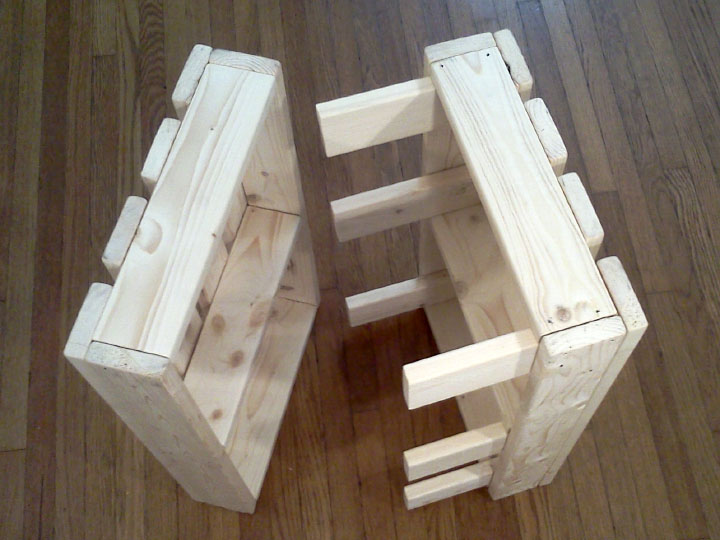
After the supports are secured, join the two halves and fasten them together to create a full apple box.
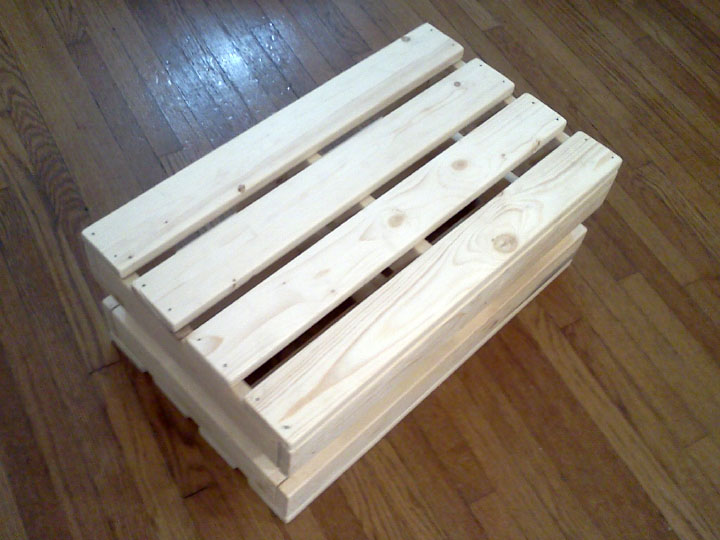
The completed full apple box.
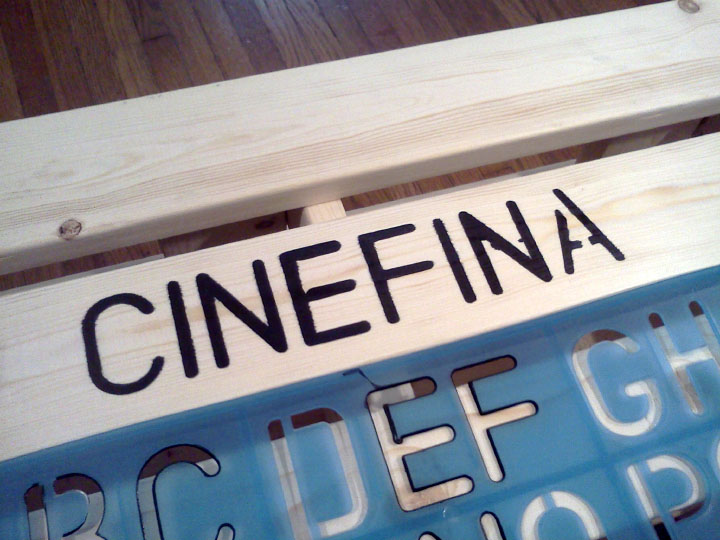
Mark your apple boxes so they do not become mixed up with other grip equipment at wrap. Stencils are available at many dollar stores.
Update
Nails can save time and money when the apple boxes will receive light-to-moderate use. For heavy-duty use, however, screws may provide better long-term durability.
After six years, one of my full-sized apple boxes began to wobble because the nails had loosened. During the same period of continuous use, another full-sized apple box built with screws showed no structural wear.
I removed the nails and rebuilt the first box using Everbilt #6 1-1/4-inch flat-head screws, which cost about $7. Using a power drill, I predrilled the holes with a 1/8-inch drill bit to prevent the wood from splitting. I then used a 1/4-inch drill bit to create a shallow recess approximately 1/8 inch deep so the screw heads could be countersunk. I hand-tightened the screws to secure the box.
Both apple boxes now feel solid and strong enough for continued use on set.